Compare us with the competition & service after sales
Contact us for a free estimate.
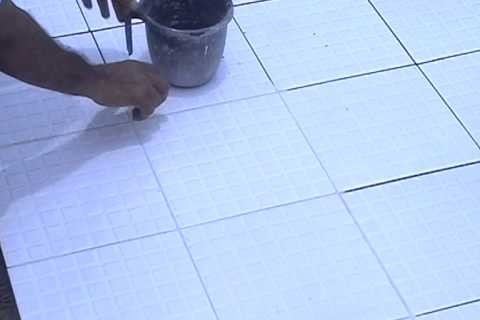
Abc Weather Proof SRI Tiles fixing method on Terrace Slab
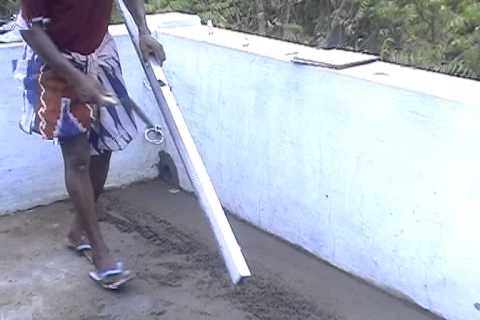
Prepare the Cool Roof Tiles surface with required slope as per civil work specifications by using suitable materials/methods etc.
Rain water outlets are to be specified and slope has to be perfectly maintained.This is to be completed by the client as per Engineer / Architect plan for life time solution.
ABC company has no role till this stage. abc Tile fixing will be done only on the well prepared sloped roof surface. Roof area must be neat and clean. No other work should take place during tile fixing.
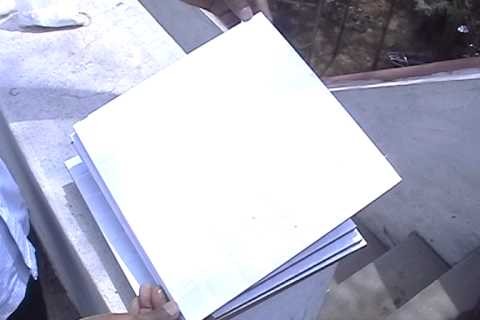
Materials required to fix abc Weather Proof S.R.I Tiles abc Plus powder, abc grout, abc Nano Clear, abc Nano White, PPF Fiber, abc Spacers, abc Weather Proof Tiles Whitener etc.
Use 15:1 sand: cement mortar to fix abc Tiles with already specified slope.
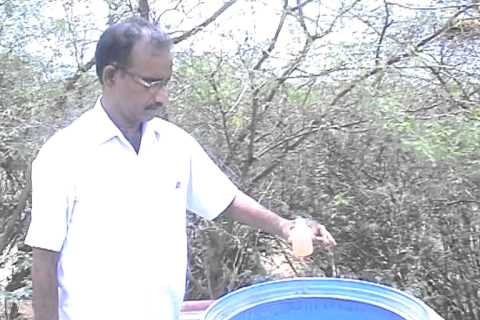
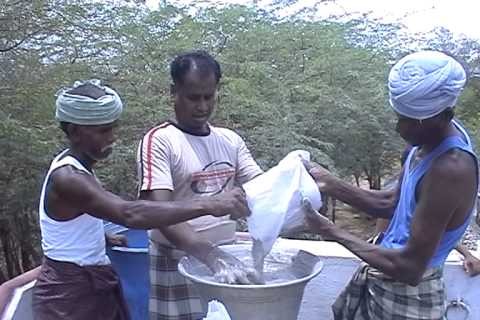
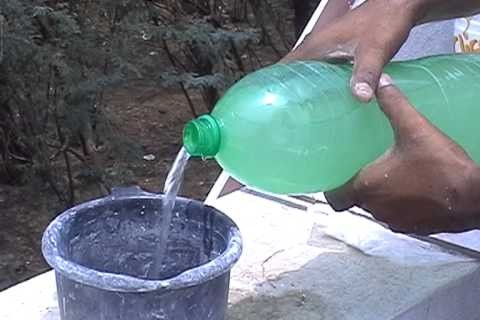
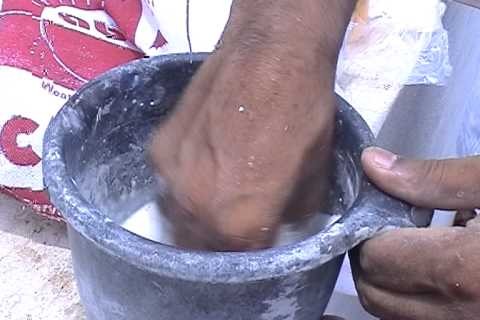
Soak tiles in to nano water (100 ml abc nano liquid in 150 liter clean water) for 25 to 30 minutes and remove defective tiles, if found. Whatever the damage, must be recorded.
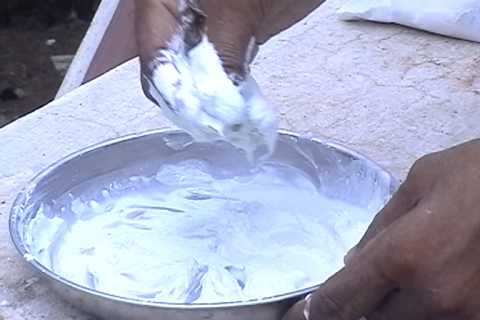
Prepare cement slurry (20 liters) as below: Add 200 to 250 ml abc nano white & add one pack (25 gm) PPF in clean water & wait for 15 minutes: Mix Ultratech cement (or equivalent) and abc plus powder @ 3:1 ratio. Mix well and adjust water to the required level.
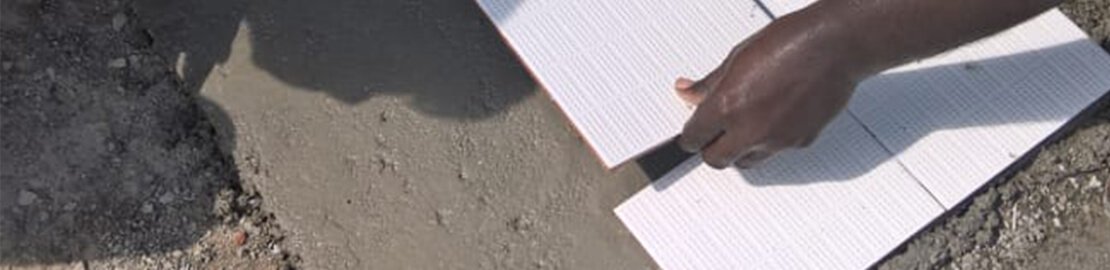
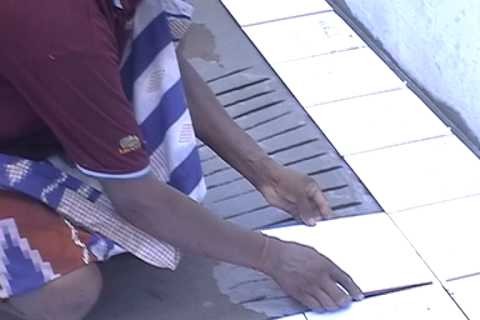
Fix abc tile on 15:1 mortar by using cement slurry and use a 3 mm spacer between tiles. Ensure that each tile is fixed firmly in wet condition. Do not walk over the tile for 24 hours.
4 inch skirting has to be given in all sides in slanting position.
Wash the tiles surface and inspect for proper fitting of each tile. Apply abc grout paste in 3 mm gap. Prepare grout with abc nano white @ 100 ml for every kg of abc grout and add required qty. of clean ppf mixed water (Mix 4 gm PPF fiber).
After 24 hours of grouting, give a top coat over the grout by using abc Nano Clear (100 ml in 2 liters of clean water). Consume within 24 hours. During final inspection, if any micro hairline appears here and there, give a touch up by using abc Weather Proof Tiles Whitener.
Final washing of entire area will be charged extra.
Make sure that Water proofing is done above skirting i.e on parapet wall etc by painting contractor. Extra charges if abc layer does this job.